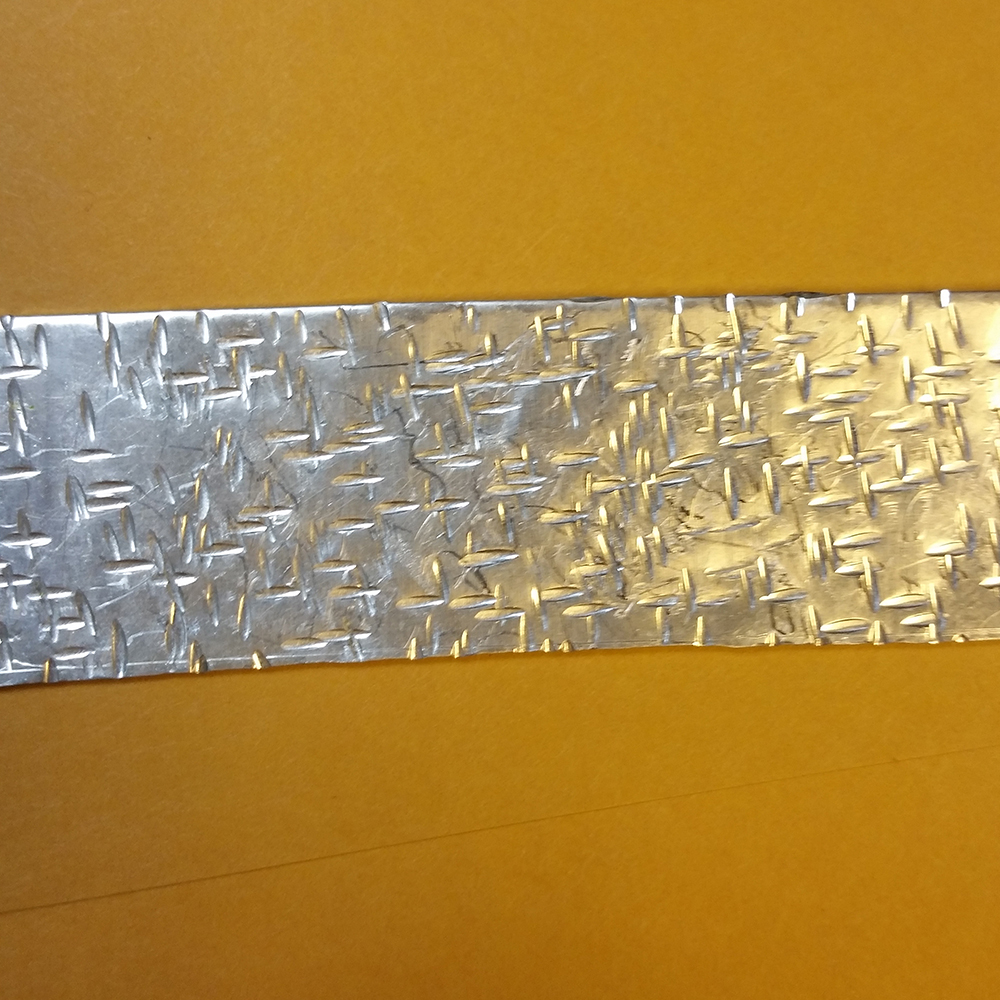
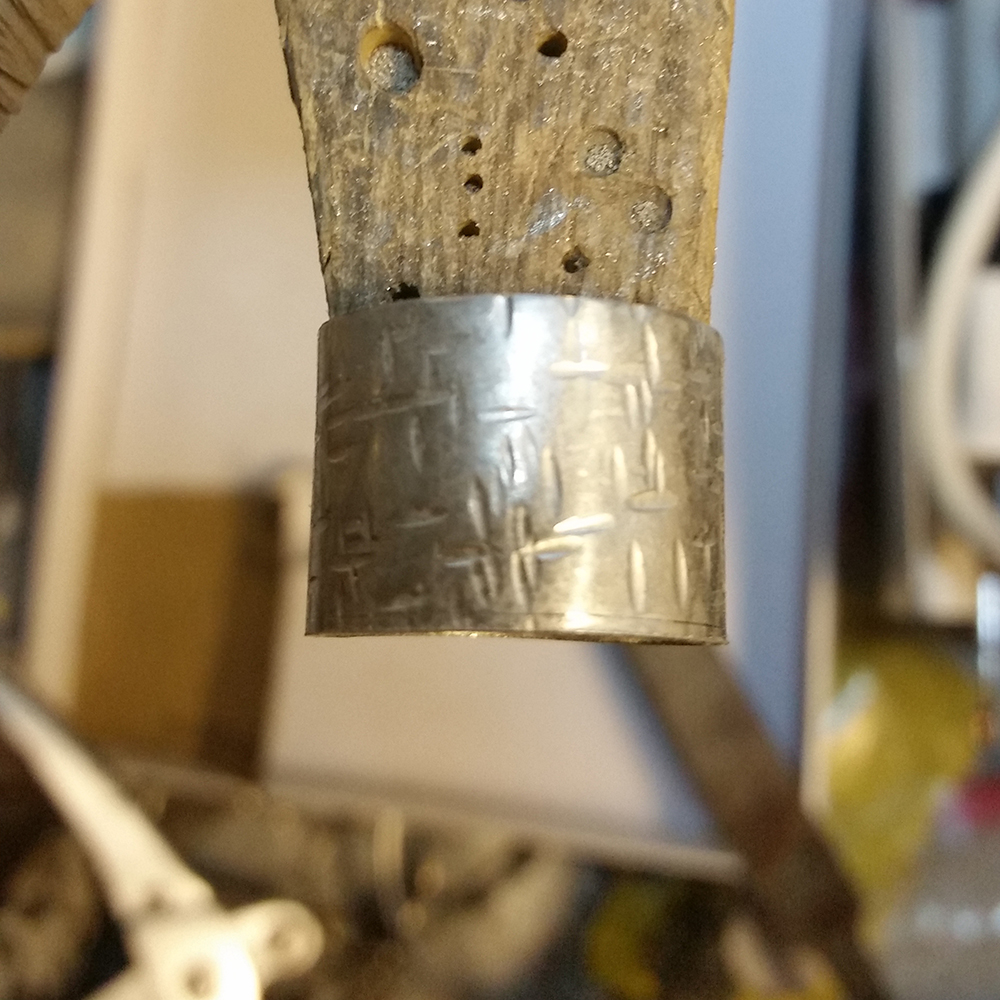
This ring starts out as sheet and wire.
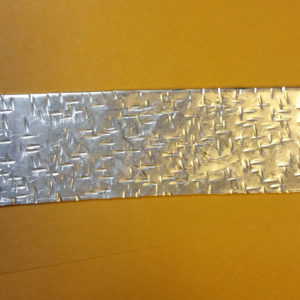
I hammer a pattern with a riveting hammer, first in one direction and then in the other direction to give it a cross pattern.

I then anneal it, bend it in to a ring, and solder.

now it is a wide ring, I sand one side flush and use my dividers to the width I want the ring to be, scribe and saw or file to the line the.

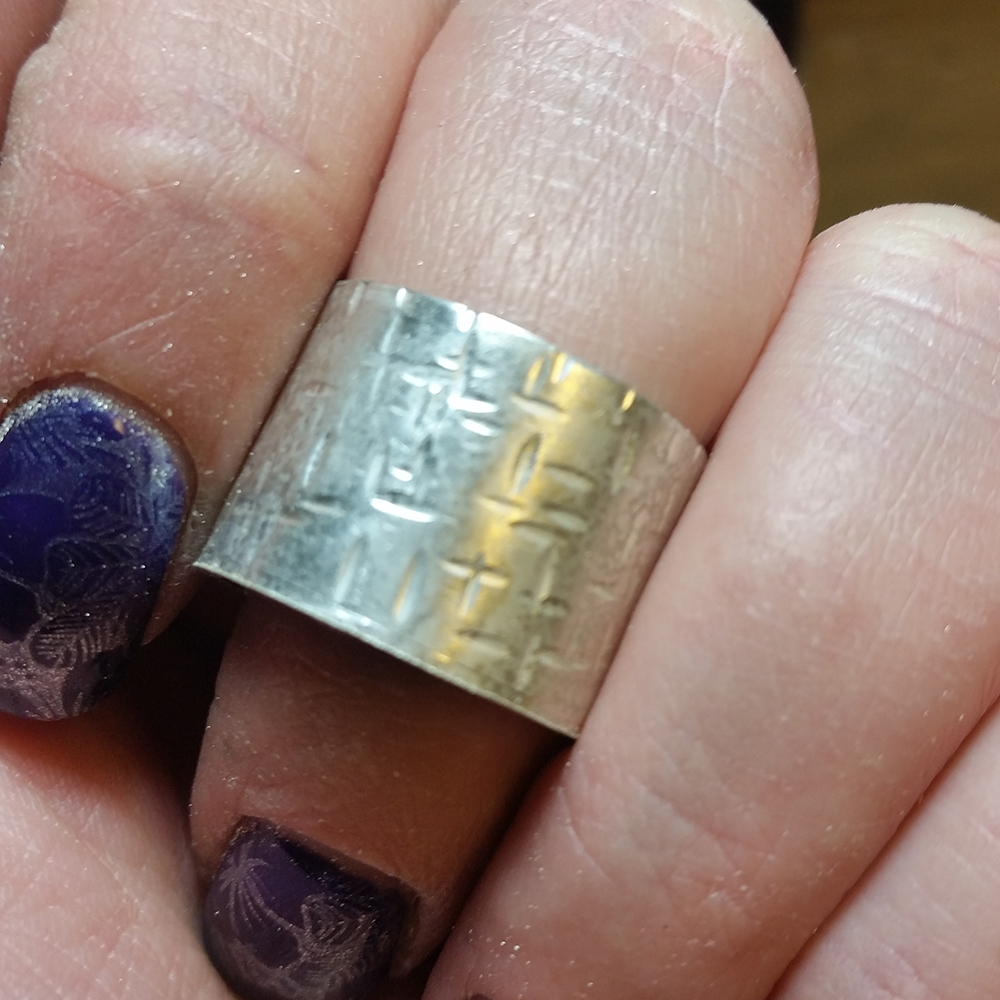
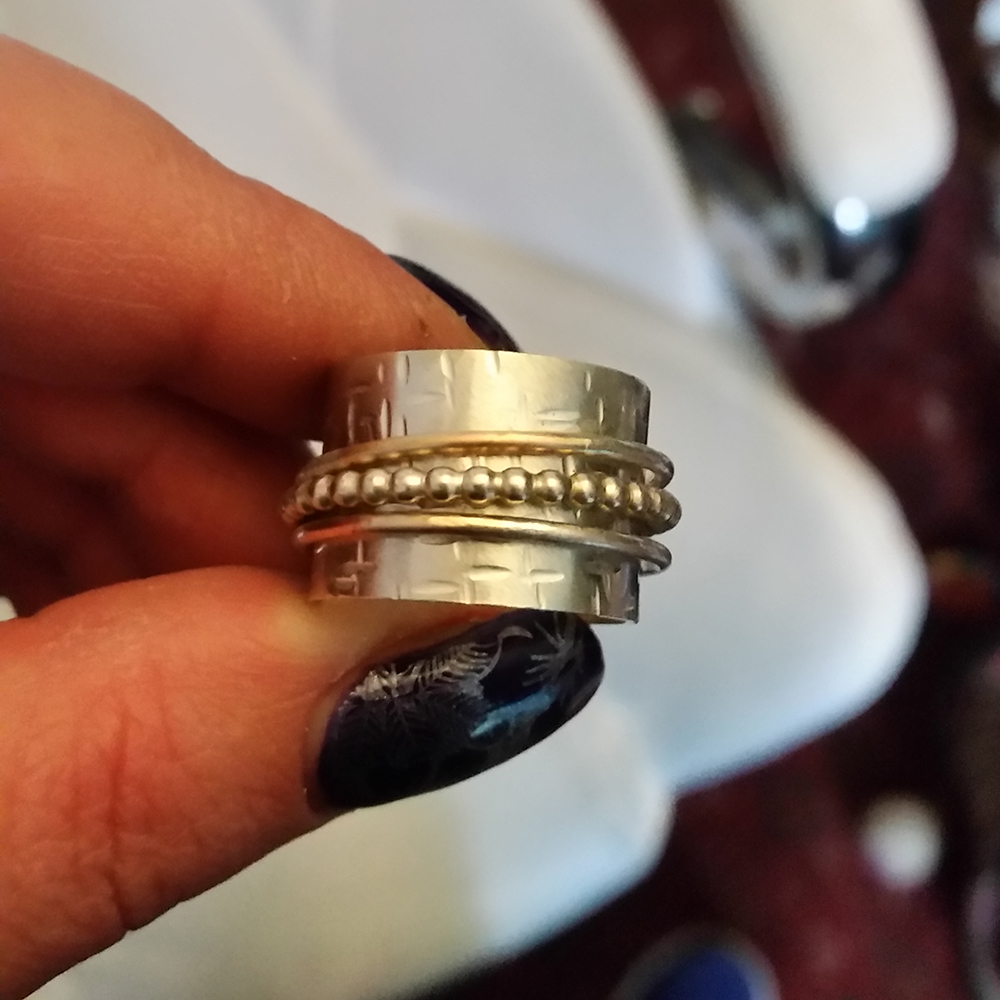
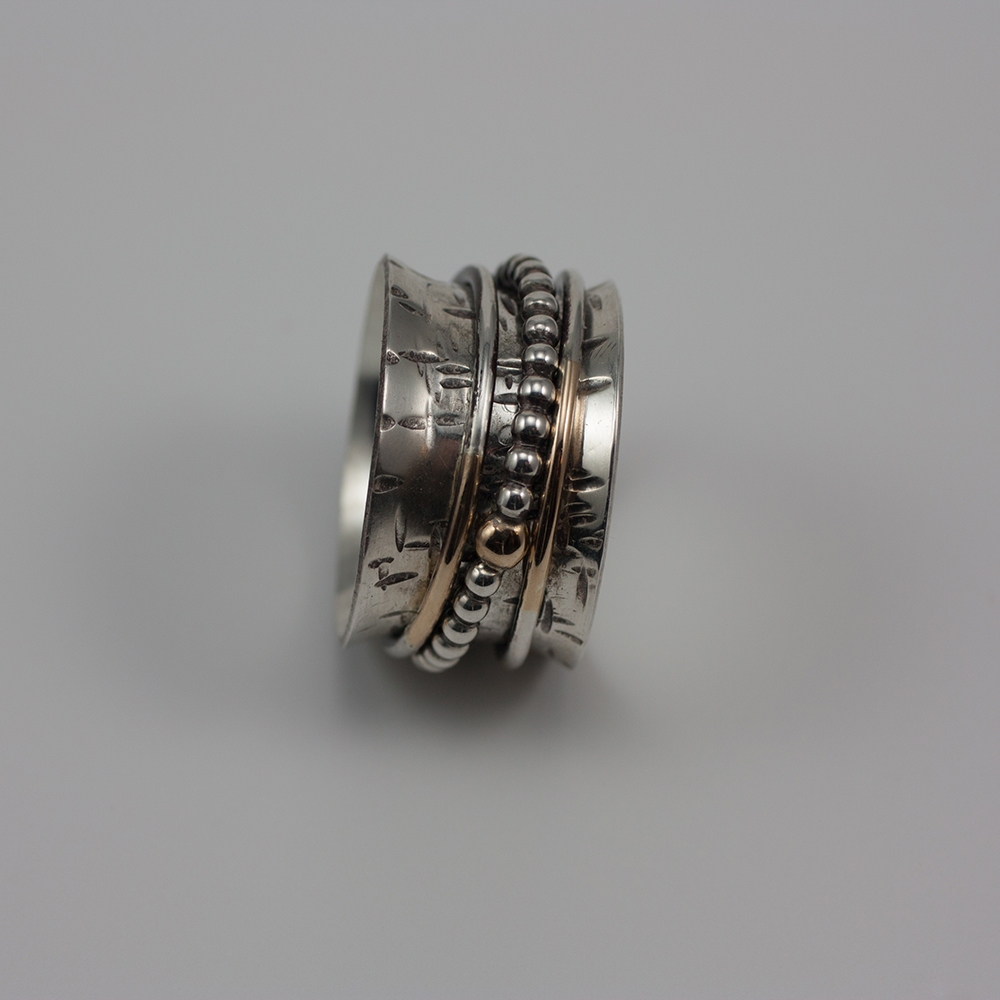
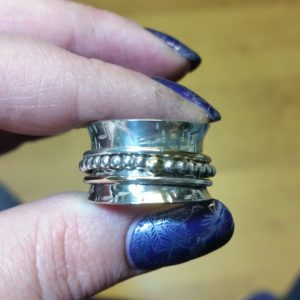
now I put on the finished spinner rings made of silver and gold wire. I then flare the sides of the ring with a dapping pinch larger then the inside of the ring and with a light tapping with a weighted nylon mallet flare the edges of the ring.
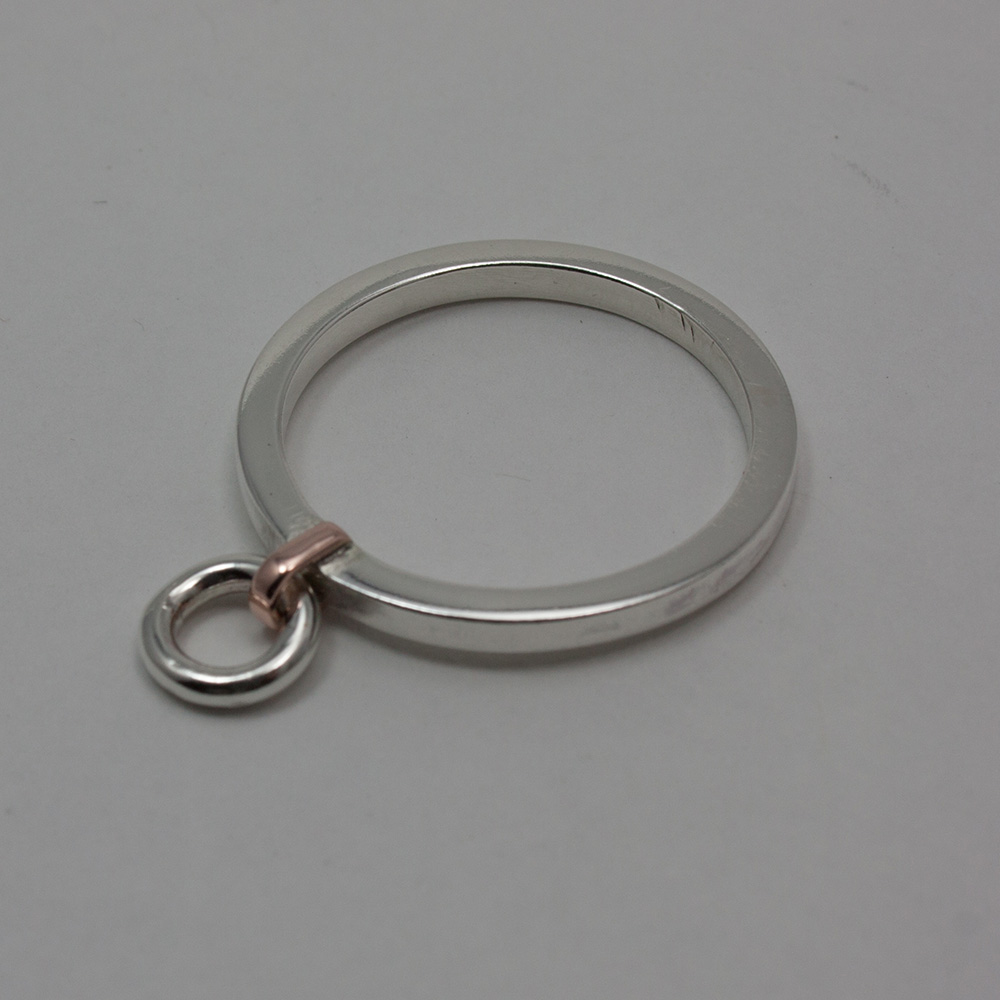
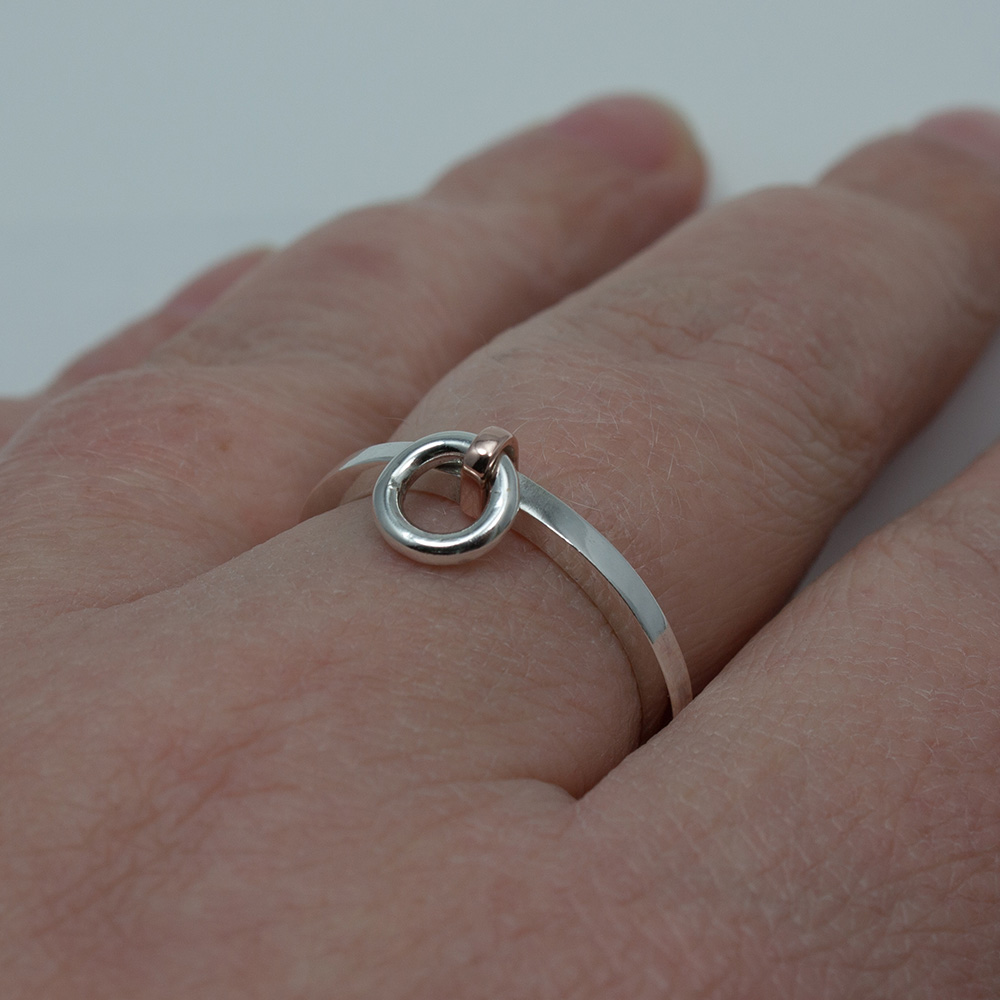
All done ready to wear!
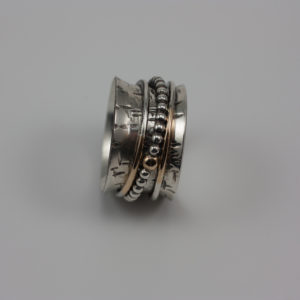
For sale in the shop, made to order in your size!